I am coming from a Front End development background, and it’s always more comfortable for me to break down my applications from top to down. That usually means I first start to implement the basics in visualization and then come slowly down to the nasty backend world and save my stuff finally on a database.
Organization of my project
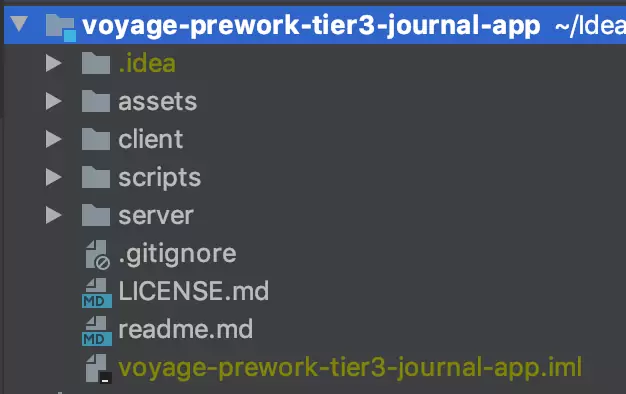
This is one of my first experiences with my own real project. Therefore, I needed to come up with a good structure for my GitHub Repository. I knew I will have a backend, aka “server”, and a web “client”. So I created the projects inside the subfolders “server” and “client” (Creative, I know).
Besides of Server and Client, you will find also a “scripts” folder. Here I always collect PowerShell scripts that I do not want to always execute myself, like set up my development environment or deploy a database.
The readme.md contains information about my project. It explains how to set up my project and other useful things around my project. I found a very good template from Eric Zumwalt and if you are interested you can find it here.
The .gitignore file is important for git to know which files I do not want to upload. Like for example, the .idea folder that takes care of the settings of my Integrated Development Environment (IDE).
The Flutter Web Client
Now that the project structure is ready, I started to create the client for my project. I followed the guidance of Ayush Shekhar. He wrote, about how to create a flutter web project in a couple of minutes. So let’s go and set up the environment for client and server. The flutter web environment was not as comfortable as I expected. I did the following steps.
Be aware that I assume in that post that you already installed the Flutter and Dart SDK. If you have not done that yet please take a look at flutter.dev.
Step 1. Activate a global package “webdev”
To activate the webdev package we have to run following code in the command line.
flutter packages pub global activate webdevStep 2. Activate a global package “webdev”
The second step sounds fairly simple. Unfortunately, it took me a while to discover that the Flutter Web App is in Intellij Idea (My IDE for that project) in Dart Projects.
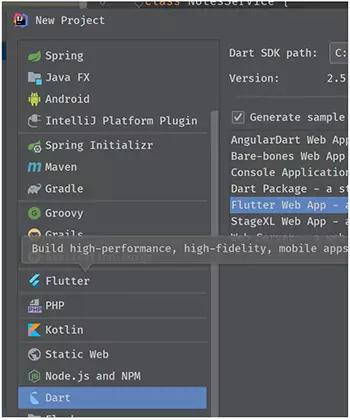
But easy as this, I created a “client” folder in my project with a flutter web boilerplate. After the creation of the project, it has been three commands to run my very first flutter web app.
pub get
webdev serve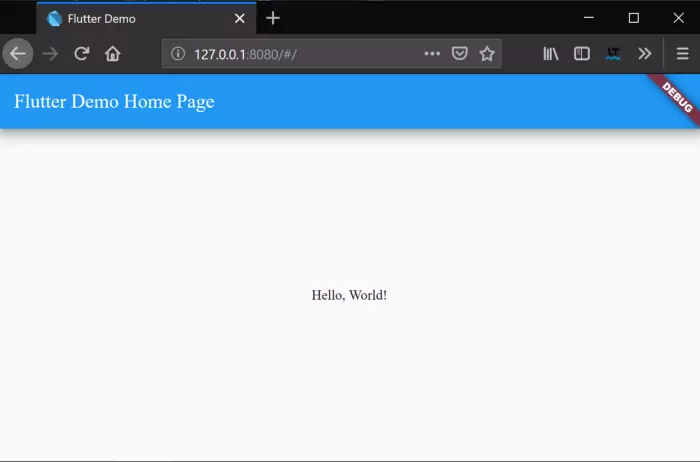
Requirement Analysis
The project structure is clear, and we have done our first steps in a flutter app for the web. In this section, I want to split my work into different work packages and show you how I proceeded to create the client for the project. Chingu was already so helpful and made a basic design for us that I wanted to replicate

Whenever you read or hear about flutter, you will hear the word “Widget”. It describes every component in a flutter. So we can say everything we see in Flutter is a widget. Basic Text, a Button or even compositions like a ListView are widgets. With that in mind, I started to create a mind map of different reusable widgets.
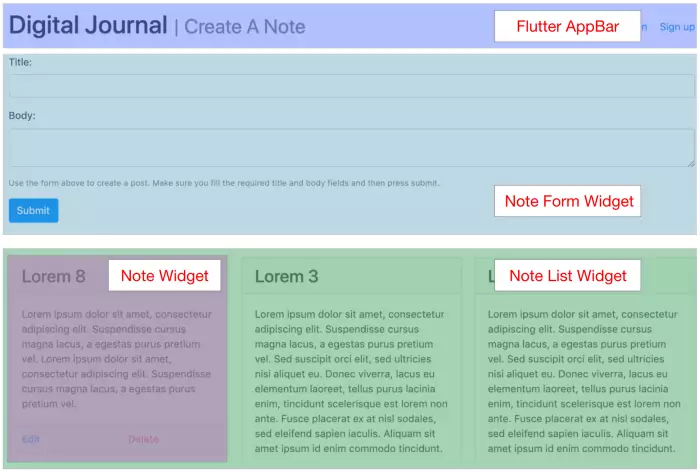
With that Widget Map in front of me, I started to create the application. In the beginning, I started to write everything from top-down in every widget and as soon as I found out that something is clearly not part of the main widget I started to tear it out and fit it as good as possible to the Widget Map above. For example, a Note List Widget will contain multiple notes. A note consists of a card with a header, content and footer section and so on.
Workflow in Flutter
I don’t have a lot of knowledge about Flutter, so I just started to write the widgets and found it very satisfying how the compiler and all development tools screamed at me as soon as they had a problem with my coding. I come from an Angular and Typescript background in which the compiler is not so reliable and descriptive.
Dart and Flutter are entirely different. First, the workflow. You can not just change something in the browser. Because other than Angular or React, you are not dealing with HTML & CSS in the inspector. You deal with something that Flutter calls glass pane. The HTML looks as following.
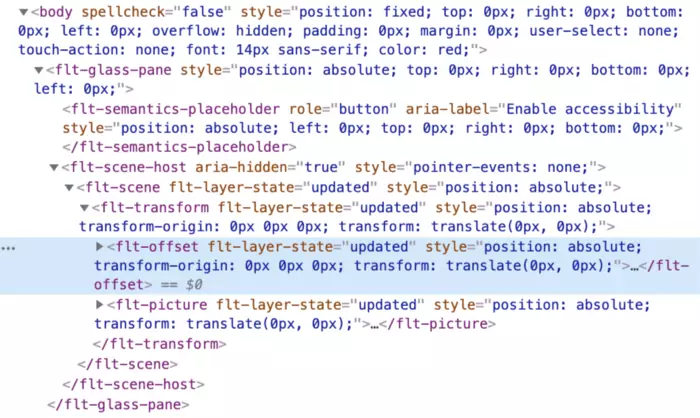
And yes it is still XML, and maybe it even translates somewhere in HTML, but at the end, you are not able to use the web inspector anymore. That is very interesting.
On the benefits site, all changes in Styling are now strongly typed. You are not able to make any mistakes by writing something wrong, because Flutter will not compile it. The documentation is some of the best I’ve ever seen in my development live. Let me give you a small example of how to change the style of a text element in Flutter.
Text("Hello World!"),Here you see the “Text” Widget to create a new Widget. We have to pass the string that we want to display into the constructor. So if we’re going to change the style of that Text, we add to the constructor a style attribute. Which is again a TextStyle Widget. The TextStyle itself has several parameters, like color and the fontSize.

child: Text(
  "Hello World!",
  style: TextStyle(
    color: Colors.white,
    fontSize: 42.0,
  ),
),
If you do something wrong, the development tools will show you immediately. The feedback loop is tiny, and you will know if you make mistakes. There is also a very good article about TextFields from Deven Joshi if you are interested in reading more about them.

Conclusion
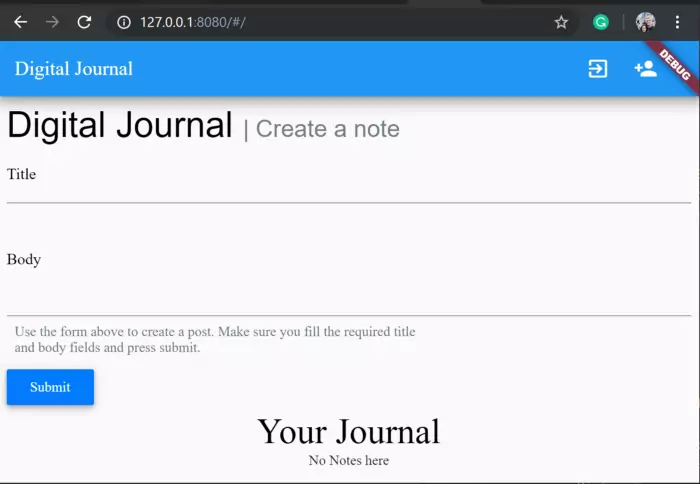
So after a while of writing new code, I finalized my prototype with absolutely no backend support.
Great! Everything works well and nothing looks like the web, it seems more like a mobile application. For example, the navigation in forms with the tab key is not working yet. On first glance, it looks pretty weird, and it is, but I know that the Flutter Team and the Flutter community working hard at that to make the web more future proof.
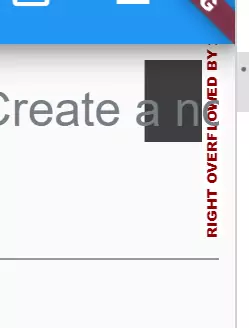
An exciting thing that I found during the development phase was that when the browser got too small. There was a warning massage in chrome that indicates me that the text was not readable or that a list did not fit anymore. That means I could directly see where the responsive design is not correct. This can be very handy in the future if you think about Mobile-first approaches.
So this is it, we managed the beginning of my Flutter Digital Journal together. Now with the basics in place, we can begin with coding my way to the end of the challenge. If you are interested, please feel free to check out my repository or the current release of the Flutter Digital Journal.
Thanks for reading and enjoy your Flutter Journey!
Leave a Reply