We already covered in another Article what an HTTP call is and how it works in a Client – Server Architecture. But today, we want to look at how to keep a connection open between the Client and the server to implement a Real-Time Application.
Why do we need Sockets
But what would Sockets benefit be compared to the standard HTTP Request / Response method? In modern applications, we want real-time data, and who thinks now at Firebase Store etc. is correct because that is how they do it.
Before we had the benefit of Web Sockets or Sockets, we had to wait until the server finished a task and make another request to get the data. Because the server never told us, we were ready with the new data. Therefore, developers all around the world discovered some quite exciting workarounds like pooling. At polling, a client made a request every period (200+ ms) to check if there were new data present. Thanks to Web Sockets and Sockets, we have the chance to reduce a load on our servers because we can reduce the calls needed. Furthermore, the server can directly notify the Client of the new information. Real-Time applications are born.
Sockets vs. WebSockets
At the beginning of my journey, I tried to use Shelf_WebSockets and connect with my two Terminals, and the result was nothing. Interestingly, I could connect via the terminal clients to the server, but whenever I sent a message, it was just not visible, and the server did not show anything.
After a long time of learning and debugging, I discovered that my Terminal used dart:io and required a server to work with the same TCP Sockets. Unfortunately, while the Web Socket Server allowed the connections, it could not understand the messages the Terminals tried to send.
Why is that the case? Web Sockets are an upgraded HTTP request that allows the open connection between a client and a server. However, Web Sockets are usually used to connect from a Browser or a UI to the server, making it problematic. Some packages allow Terminals to connect against a Web Socket server, but I did not use them. Therefore, I needed to change my Web Socket Server to a TCP Socket Server.
So the rest of the tutorial will only use a Socket Server and Socket Clients. Still, you can achieve the same with Web Socket Server and a Web Socket Client, for example, websocket_manager that allows Flutter to connect against a Web Socket Server.
If you want to know more about Sockets vs. Web Sockets, I recommend reading the MDN post about Web Sockets and the StackOverflow answer. Great, now that we have that out of the way, let’s see how we can develop our application.
Implementation
We will now see the best part of the implementation is that we do not rely on any package. To make this possible default dart is enough to make it work, which is incredible. The only package I added is optional and is called ansicolor and allows making prints in the console a bit more colorful.
I created a basic bare bone Dart project without anything inside but a terminal executable. After all, we do not need the boilerplate from the Server app because we want to use Sockets :).
Now I deleted everything in the bin folder and created three files client.dart, server.dart and terminal_service.dart. In the Client.dart, we will collect all information about the Client, how he connects to the server and the message he sends. In the end, we can start multiple clients against a single server. The second file is the server.dart inside here, we write everything to receive messages from multiple clients and notify all clients that there something new happens.
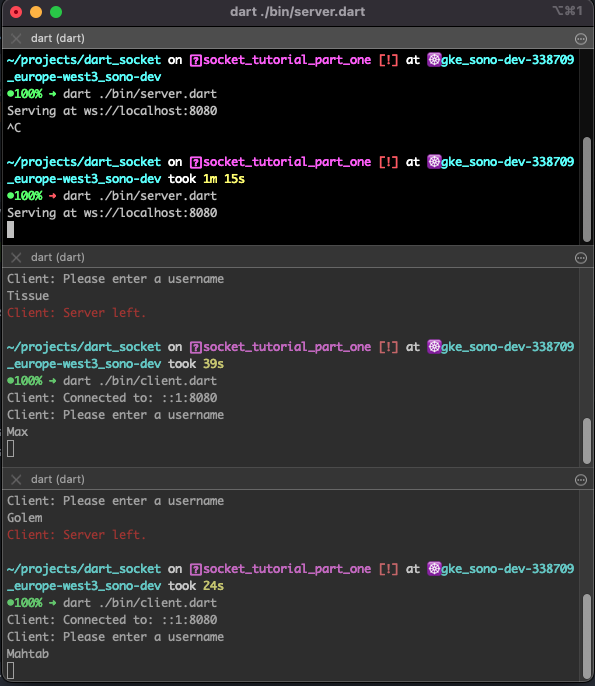
Last but not least, we have the terminal_service.dart is just a mini service containing different print functions for different colours. The result after the tutorial will look something like this.
Setup the Server
First, we start as always within the main function. Inside here, we want to find the local IP address and allow us to find just an unused IP address. Then we create a ServerSocket and bind the IP and a port. In our case, the port is fixated on 3000. after that, we just let the server listen to incoming connections, so whenever someone connects to the server, the callback is in the server.listen(callback) will be executed.
Future<void> main() async {
  final ip = InternetAddress.anyIPv4;
  final server = await ServerSocket.bind(ip, 3000);

  print("Server is running on: ${ip.address}:3000");

  server.listen((Socket client) {
    handleConnection(client);
  });
}
Whenever a client is connecting to our server, we call handleConnection. Inside, we want to inform the server of an incoming connection. The socket we receive in the handleConnection is the information on communicating to that specific Client. If you want, for example, to create multiple players, you can save that socket to have a reference between player and socket to send messages between specific players. Now we must listen to the Client if the Client sends the server some messages.
List<Socket> clients = [];

void handleConnection(Socket client) {
  printGreen(
    "Server: Connection from ${client.remoteAddress.address}:${client.remotePort}",
  );

  client.listen( ... );
}
Before, we already had the server.listen where the server waited for connections. Now we have client.listen, so we on the server wait for the client to send us some notifications. The client.listen function has some information we have to pass in. The first part is how to handle messages from the Client. So we will receive a Uint8List message that is just a basic ByteString, and because we will be in complete control of the Client, we know that this will be a plain string so that we can transcode it with String.fromCharCodes(data).
In that message, we want our users to send the player name so we can inform every Client that is already connected to the server.
client.listen(
  (Uint8List data) async {
    final message = String.fromCharCodes(data);

    for(final c in clients) {
      c.write("Server: $message joined the party!");
    }

    clients.add(client);
    client.write("Server: You are logged in as: $message");
  },
  onError: ...
  onDone: ...
  ...
)
Implement the Client
First, we create another file called client.dart in our Dart Project. Here we will implement the client application that will connect to our server. The Client works similar to the server and should be a standalone Dart application. Therefore, we need another main function. In this main function, we connect with a Socket to our server with the IP we get from the server command:
Future<void> main(){
    final socket = await Socket.connect("0.0.0.0", 3000);
    print('Connected to ${socket.remoteAddress.address}:${socket.remotePort}');
}
When we execute the client.dart file without anything further, we will already get the information on our Terminal where the server is running. It should look something like this.
➜ dart ./bin/client.dart
Connected to: 127.0.0.1:3000
➜ dart ./bin/server.dart
Server is running on: 0.0.0.0:3000
Server: Connection from 127.0.0.1:53419Therefore we can see that the server already receives the connection and keeps the connection open for the IP 127.0.0.1:53419. The IP points are also the same computer, but the IP and the Port could be entirely different for your implementation. Great, so the connection is already stable so let’s send some messages from the Client to the server and see how we can handle them. We will ask the user for his name and send the information to the server.
// Ask user for its username

String? username;

do {
    print("Client: Please enter your username");
    username = stdin.readLineSync();
} while (username == null || username.isEmpty);

socket.write(username);
We first define a variable username that could be null, and in the do-while-loop, we ask the user for a terminal input to enter the username. If the username is null or empty, we ask him again until we get the needed information. After that, we call socket.write(username), which sends the information directly to the server. But if we restart the server and the Client now, we will see nothing has changed. The message is now only sent to the server; if we recheck the server, we see that we send the message to the Client.
client.write("Server: You are logged in as: $message");
On the other hand, the Client does not listen to server messages and cannot show what the server sends. So let us make the Client smarter and allow it to receive messages sent by the server.
socket.listen(
    (Uint8List data) {
        final serverResponse = String.fromCharCodes(data);
        printGreen("Client $serverResponse");
    },
    onError: (error) {
        print("Client: $error");
        socket.destroy();
    },
    onDone: () {
        print('Client: Server left.');
        socket.destroy();
    },
);
If we check the socket, we can see that it also provides the listen method and also here, we have the chance to implement the same three methods as on the Server side. Therefore we implemented them nearly the same. The only difference is that the onData method now receives the message and directly prints them into the console.
If we start up now the Server and Client, we should be able to see something like this:
➜ dart ./bin/server.dart
Server is running on: 0.0.0.0:3000
Server: Connection from 127.0.0.1:54384
➜ dart ./bin/client.dart
Server: Connected to: 127.0.0.1:3000
Client: Please enter your username
Max
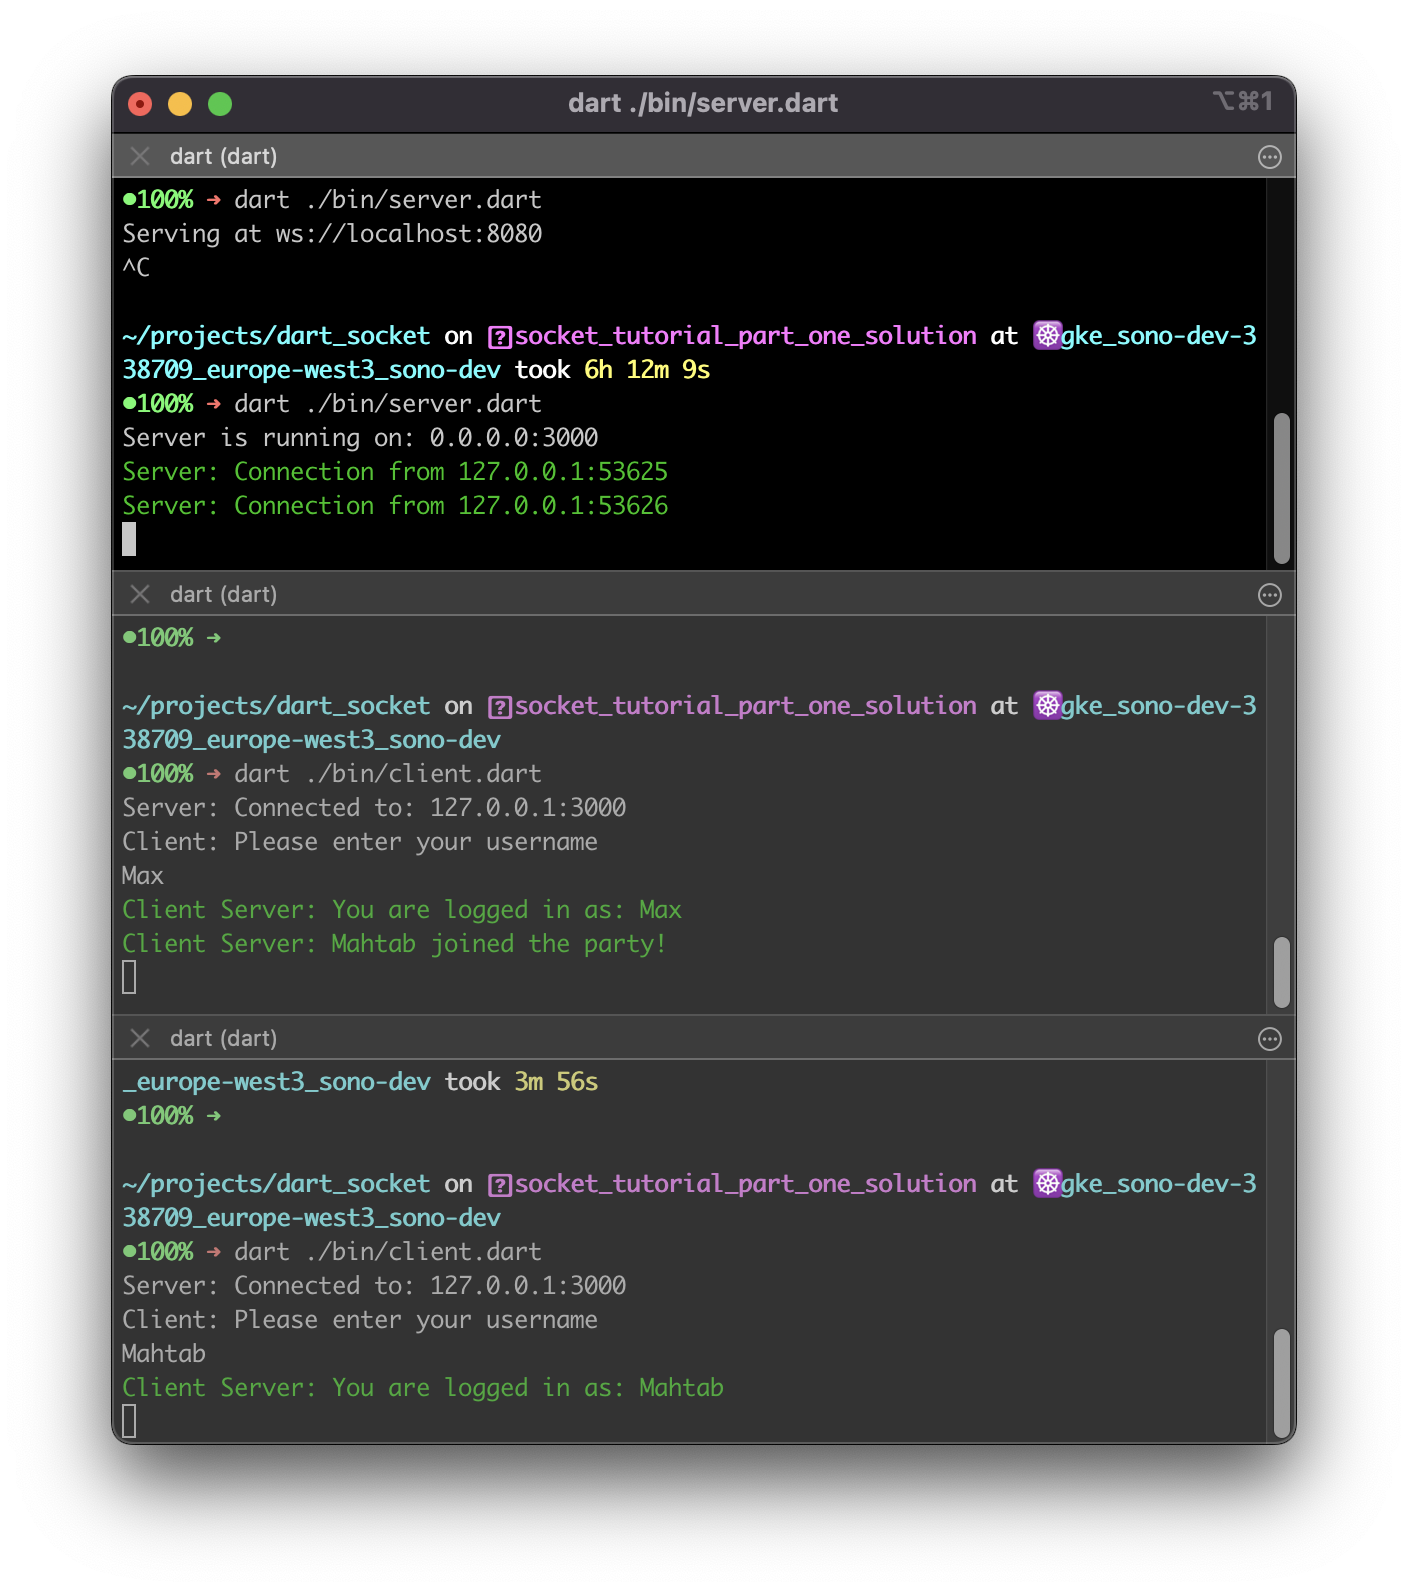
Client Server: You are logged in as: MaxAnd if we create another client the following will happen:
➜ dart ./bin/client.dart
Server: Connected to: 127.0.0.1:3000
Client: Please enter your username
Mahtab
Client Server: You are logged in as: Mahtab
➜ dart ./bin/client.dart
Server: Connected to: 127.0.0.1:3000
Client: Please enter your username
Max
Client Server: You are logged in as: Max
Client Server: Mahtab joined the party!➜ dart ./bin/server.dart
Server is running on: 0.0.0.0:3000
Server: Connection from 127.0.0.1:54384
Server: Connection from 127.0.0.1:54415Conclusion
We now have a successful Socket Server running and multiple clients connected. After this tutorial, you should have the power to create excellent applications that need real-time experience. That can be integrated with Games but also in Tools where collaboration is vital.
You can find the tutorial project on Codeberg. Feel free to check it out, and if there are any thoughts, please let us know. Thanks for reading, and till the next post.
Leave a Reply